
RFX Race Killschalter - OEM Replica
Gewöhnlich versandbereit in 1 bis 3 Tagen
Produktbeschreibung
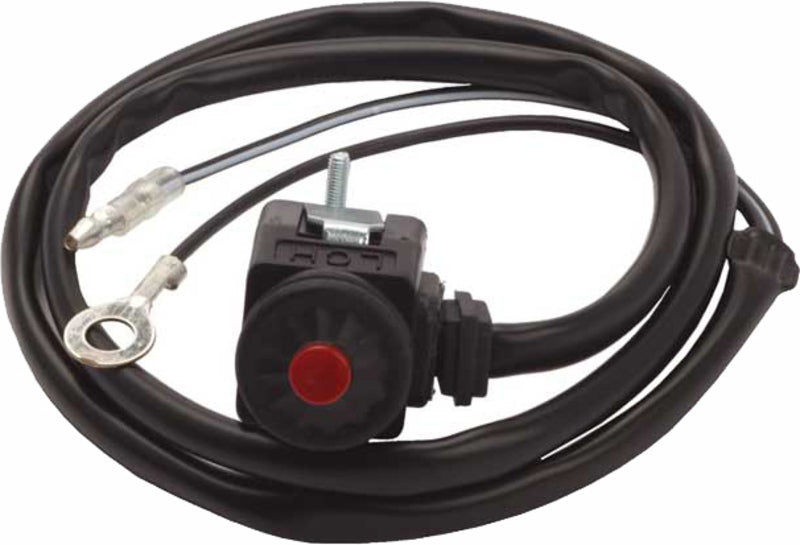
RFX Race Series kill buttons are an exact OEM replacement part.
Complete with the same couplings, fasteners, connectors and exact cable lengths as the genuine part.
Available for a wide variety of bikes.
Features:
- OEM replacement
- Accepts all original connectors
- OEM cable length
Fitting Instructions:
- Start by removing the front number plate.
- Carefully snip any cable ties holding the start and stop switch cables to the bars then un-screw the clamps and let these hang down.
- Locate the connector for the switch on the bike, these are often close by to the headstock on the chassis but sometimes can be under the tank.
- Unclip the connector and remove the switch taking a note of the routing for the wiring.
- Clean the connector using an electrical contact cleaner.
- Loosely attach the new switch on to the handlebars in the desired position.
- Route the wires as per the old switch and clip the connector together.
- Check all free pay in the wires by turning the bars to full extension and making sure the wires don’t pull tight, adjust if necessary.
- Re-fit cable ties to the wires if possible positioning the cables to the back of the bars to prevent damage from roost.
- Re-fit your number plate
Merkmale
Für dieses Produkt sind derzeit keine spezifischen Merkmale hinterlegt.
Kompatibilität
Produktsicherheit
Die detaillierten Herstellerinformationen für dieses Produkt konnten derzeit leider nicht gefunden werden. Wir arbeiten daran, die fehlenden Angaben schnellstmöglich nachzutragen. Wir bitten um Ihr Verständnis und entschuldigen uns für die Unannehmlichkeiten.
RFX Race Series kill buttons are an exact OEM replacement part.
Complete with the same couplings, fasteners, connectors and exact cable lengths as the genuine part.
Available for a wide variety of bikes.
Features:
- OEM replacement
- Accepts all original connectors
- OEM cable length
Fitting Instructions:
- Start by removing the front number plate.
- Carefully snip any cable ties holding the start and stop switch cables to the bars then un-screw the clamps and let these hang down.
- Locate the connector for the switch on the bike, these are often close by to the headstock on the chassis but sometimes can be under the tank.
- Unclip the connector and remove the switch taking a note of the routing for the wiring.
- Clean the connector using an electrical contact cleaner.
- Loosely attach the new switch on to the handlebars in the desired position.
- Route the wires as per the old switch and clip the connector together.
- Check all free pay in the wires by turning the bars to full extension and making sure the wires don’t pull tight, adjust if necessary.
- Re-fit cable ties to the wires if possible positioning the cables to the back of the bars to prevent damage from roost.
- Re-fit your number plate
Für dieses Produkt sind derzeit keine spezifischen Merkmale hinterlegt.
Die detaillierten Herstellerinformationen für dieses Produkt konnten derzeit leider nicht gefunden werden. Wir arbeiten daran, die fehlenden Angaben schnellstmöglich nachzutragen. Wir bitten um Ihr Verständnis und entschuldigen uns für die Unannehmlichkeiten.